How to add, remove, move, and change module orientation
Preconditions:
- The Array Layout step of System Design has been completed.
Permit-ready design Site information required:
-
Roof specified with either strategy:
-
Traced roof face(s) and roof outline
-
-
Site Equipment added
-
Weather Data completed
-
Site Info specified
It's recommended that the majority of array placement be completed during the Array Placement step. The Layout Design step allows for module placement to be fine tuned or altered.
Add modules
During the Array Layout step modules were added until either the kWh goal was met or there's no remaining empty module spaces. To add more modules in empty module spaces select the Add Module Tool from the toolbar.

Click on an empty module outline to place a single module in that space. To place multiple panels at once drag across multiple open spaces.
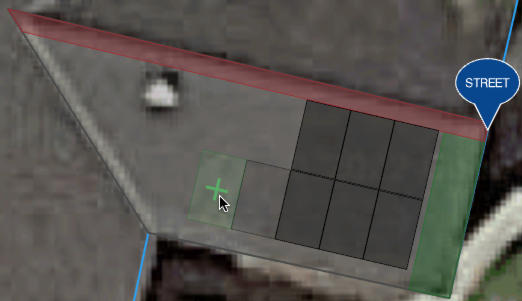
If more room is made or a module position is accidentally deleted you can add a module (if the space is valid) with the Add Module tool. In the photo below the user is hovering over an available space. By clicking a new module will be placed in the green area.

Remove modules
We can remove modules from filled in spaces but retain their empty spaces for later use by using the Delete module tool. To use it, select the Remove Module Tool from the toolbar.

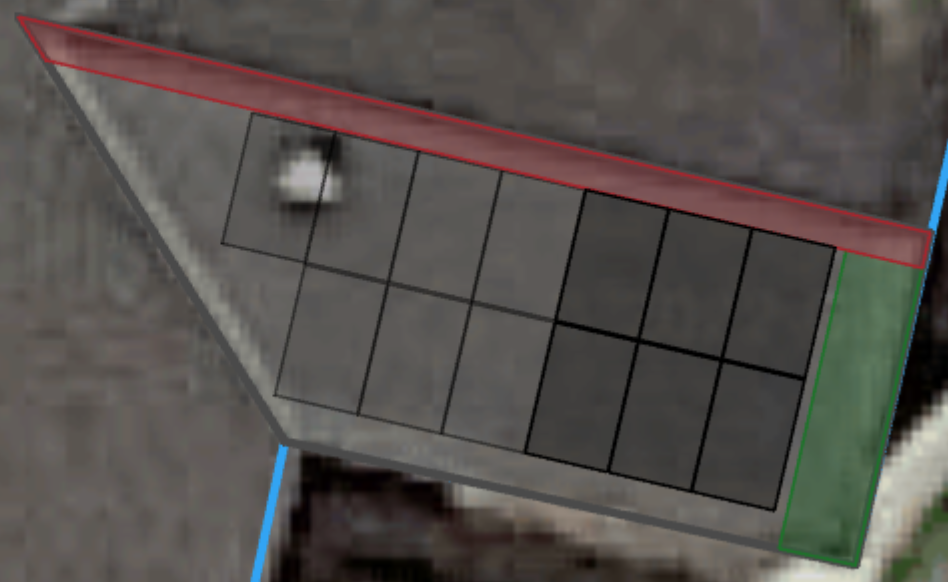
Click on a filled module space (the darker spaces on the right) to remove the module and create an empty module position (the light grey spaces on the left).

If an empty module position is in the way of your layout you can remove it by clicking it a second time with the Remove Module Tool.

If you've removed an empty a module position and need to refill it, use the Add Module tool.
Move modules
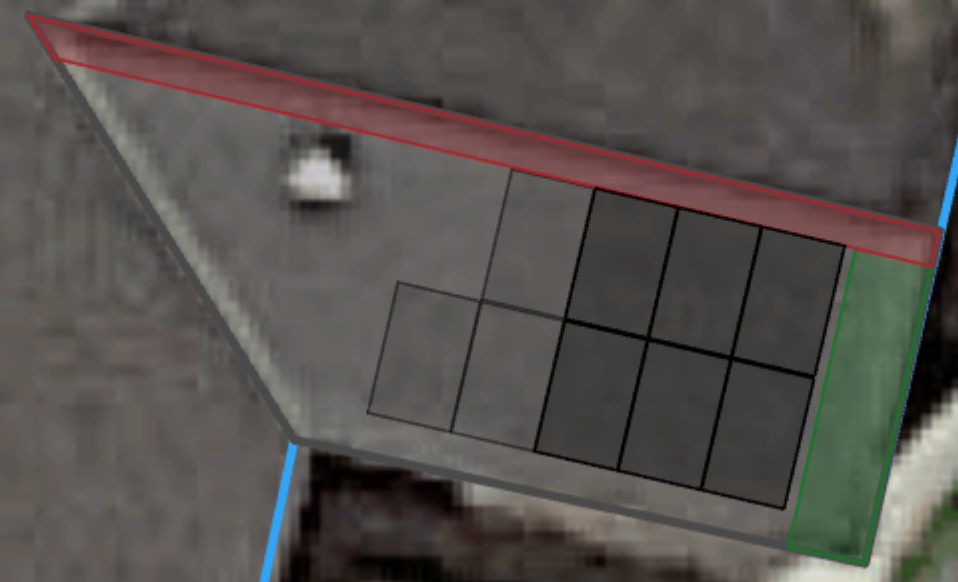
Individual modules can be moved and customized into any open space on a drawn roof face. Using the Select Tool, click once on the module to select it then click a second time and drag the module to the desired space.
Multiple modules can be moved together by using the Select Tool and Shift key on your keyboard. While holding Shift click on the modules you wish to move. After they're selected, click and drag the modules to the desired space.
Note: the final placement must be green. If it is red the module cannot be placed in its current position and will be reverted back to its starting place.
Move module positions
Empty individual module spaces can also be moved, like filled module spaces, with the Select Tool. Click once on the module space to select it then click a second time and drag the rectangle to the desired space.
Note: the final placement must be green. If it is red the module cannot be placed in its current position and will be reverted back to its starting place.
Change module orientation
Modules can be rotated 90 degrees easily with the Change Orientation Tool from the toolbar.

Click on a module to rotate it 90 degrees.
Next Steps
After adding your modules and finalizing their placement, move onto Electrical Design where we’ll select our inverter(s), optimizer(s) and, stringing configuration.
