How to create a new project from the Dashboard
Preconditions:
- Be in the Dashboard
Creating a Project
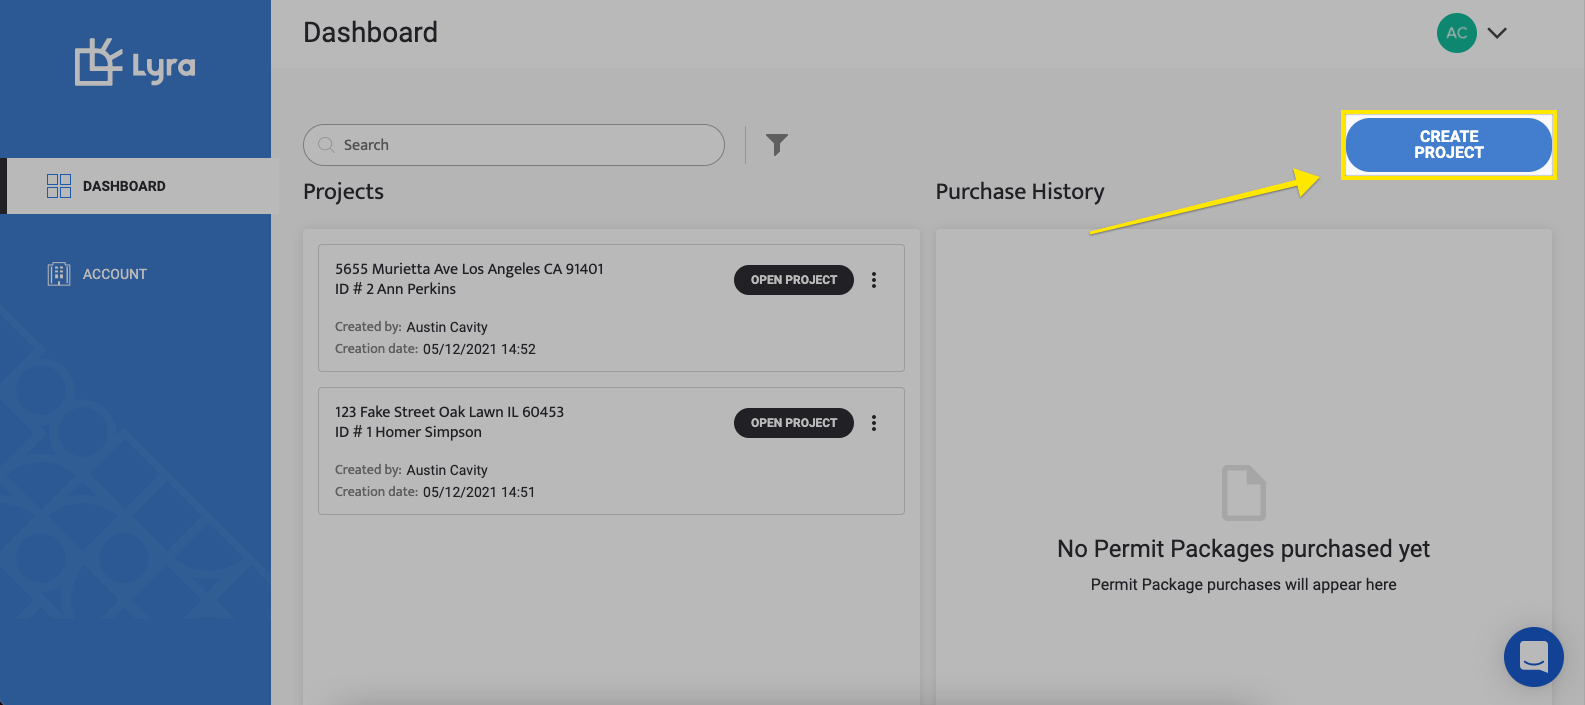
Begin by using the Create Project widget, found here.

A pop-up will appear where we can input:
-
Project address
-
Customer's Name
-
Internal reference ID (optional)
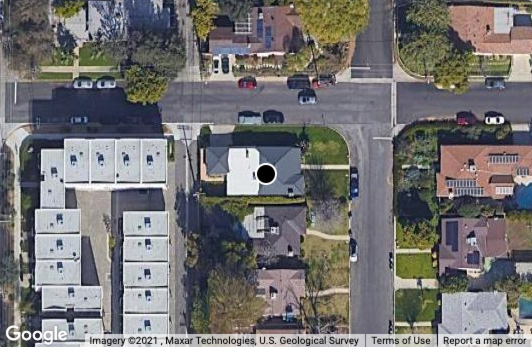
In addition, we can place the center of the installation area by panning (dragging) the aerial imagery and placing the black dot on the center of the project site.

What's Next?
Now that the project has been created we can begin the Site Definition process. There are two ways to do this: tracing over the aerial imagery or importing a 3D Roof Model. If tracing, it's best to start by learning how to use Smart Guides. If importing a 3D Roof Model, this tutorial teaches the process.
